Meborder
New Member
New to the forum. But thought I would share my solar set up I put together for a pop up camper. I got a lot of advice from people I trust and did my best to build the best system I could for my needs.
This is essentially the worlds best battery charger. It is not intended to “run” anything, only to recover the battery from an overnight discharge running the furnace or fans. And it works perfectly for that purpose. On our trip last year to arches national park and canyonlands there was no day that the battery wasn’t fully recovered by noon. I even shut the panels off one day just so they would have something to do the next day.
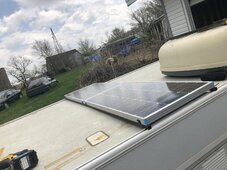
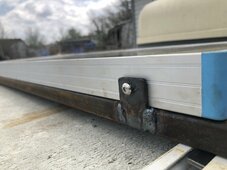
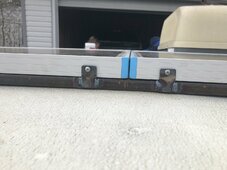
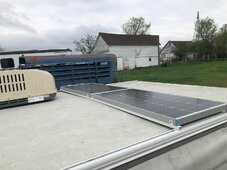
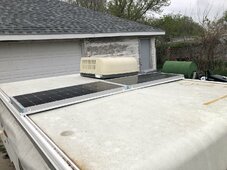
The system is two 100 watt 12v Renogy panels mounted on roof rails that I built to attach to the factory roof rails on the pop up. This worked great but we did have a couple of bolts work loose on the first night out. An allen wrench and some blue loctite solved that and they never came loose again.
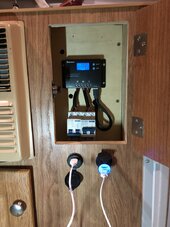
The charger is a Renogy wanderer 10a PWM. Simple and effective for what I needed. Had to wire the panels in parallel due to the limitations of the controller, but it works fine this way for what I need.
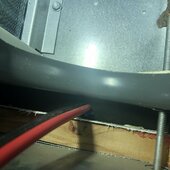
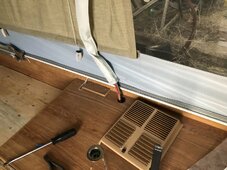
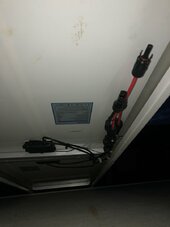
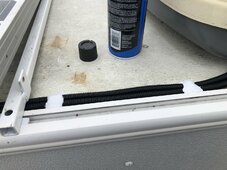
Ran the PV cables though the gasket for the AC unit and chased them down the same path as the cord for the AC so they are out of sight and protected.
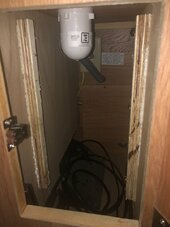
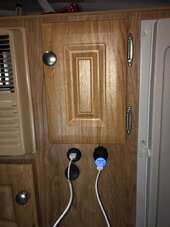
Mounted the controller in an unused cabinet under the sink and added a 12v socket and some USB ports under the cabinet door that run off of the load circuit of the controller.
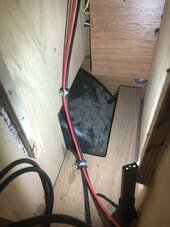
The charging wire for the battery runs along side the factory 12v wire for the camper converter and ties into the battery at the circuit breaker on the frame.
The charger is over paneled, but I did it on purpose so that it could recover the battery on an overcast day, especially given the flat installation. In full sun the battery is fully recovered before the sun gets very high in the sky.
I did my best to do a tidy installation and used 16 amp DC circuit breakers for the battery and PV as recommended by the people I asked. Makes for a very easy and convenient disconnect by mounting them below the controller. 12 awg wires were used for both the PV and charging cables. The charging cable is a 12-2 paired cable which I really liked working with.
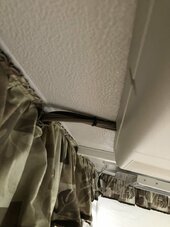
The PV cables are loomed in plastic split loom and secured to the roof with dicore sealant. This was a trick someone recommended and it worked really well.
Constructive feed back is welcome. I did this the best I can and it works really well.
Considering getting a 20a MPPT controller so that I can power a small crock pot from an inverter and cook while we are out exploring, but I’m still working out in my head if that is actually going to work or not.
Thanks for reading if you did.
Mike


