Hedges
I See Electromagnetic Fields!
- Joined
- Mar 28, 2020
- Messages
- 20,994
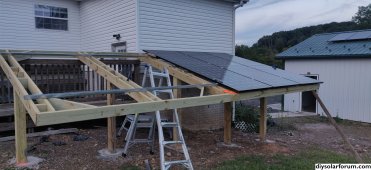
The threading let me extend a little more than 10ft upward in a few cases using a coupler + additional 2" pipe and let me use 2" galvanized flanges to hold the base within the concrete footers - https://www.lowes.com/pd/Mueller-Proline-2-in-dia-Galvanized-Floor-Flange-Fittings/4330338 - so the pole wouldn't slip downward.
I considered those, but they need multiple anchor bolts, and small ones.
Instead, I put a coupling on the bottom and screwed one of these in.

Or rather, I used a large anchor bolt to secure the bushing to concrete. Then use a coupling to connect 2" conduit to it.
")