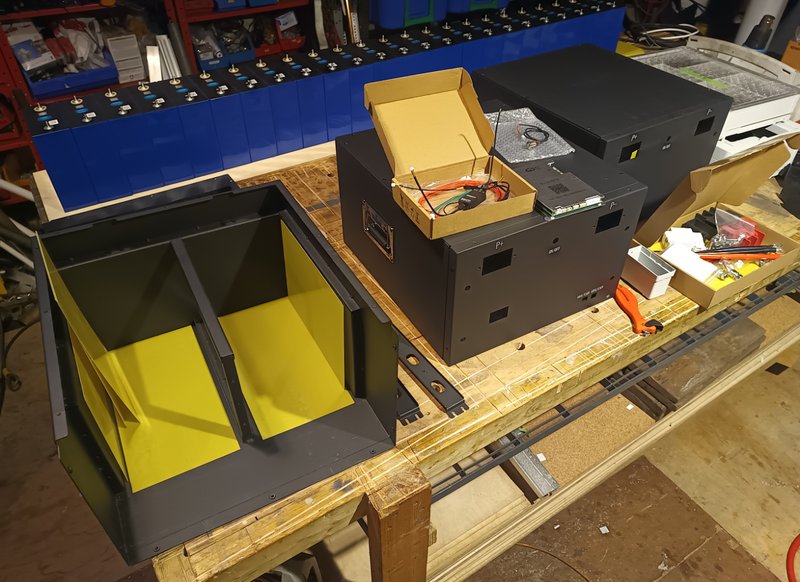
When my Luyuan battery boxes came, I assumed it would be simple to put them together!... But with no instructions, I had to trial and error which way round for mounting everything so it would work. I ended up playing hokey cokey with the cells a few times, as I was also trying to see how best to shimmy the epoxy separator panels around.
This might be useful for others looking at the Luyuan 8S boxes, mine were for Gotion 340Ah cells which are fatter than standard 280/304 size, but Amy had the boxes extended to fit them for me:
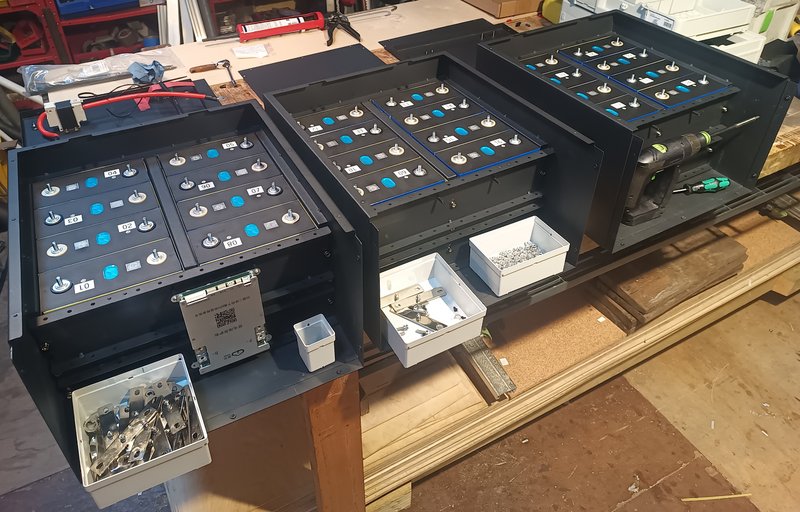
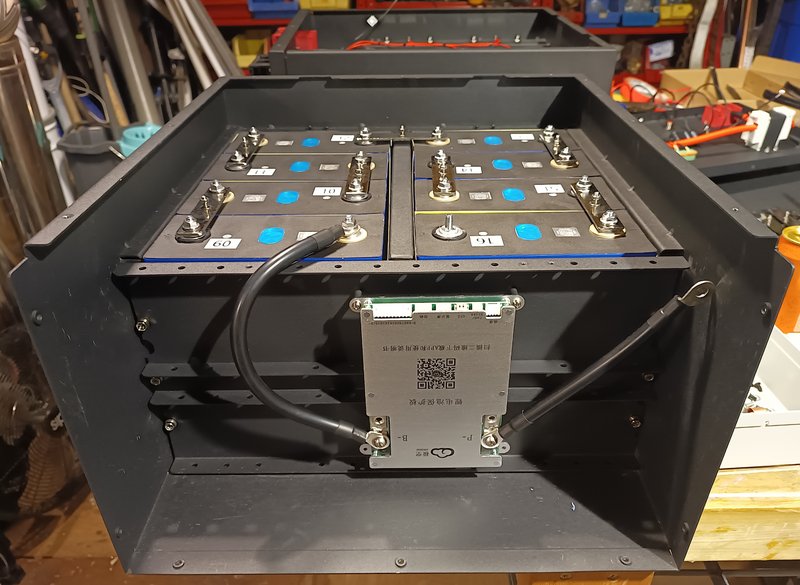
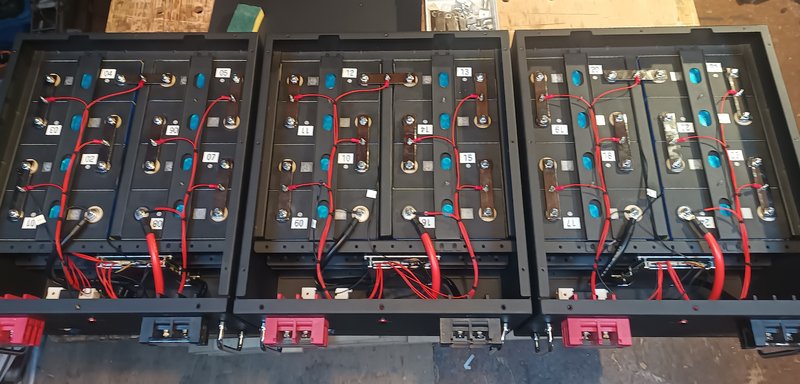
I got the cells in!, Starting to look like batteries. :D
I had pretty much put them together before realising the last box had half the cells the wrong way around

lucky no sparks! but it was late and maybe a beer or two had been involved..
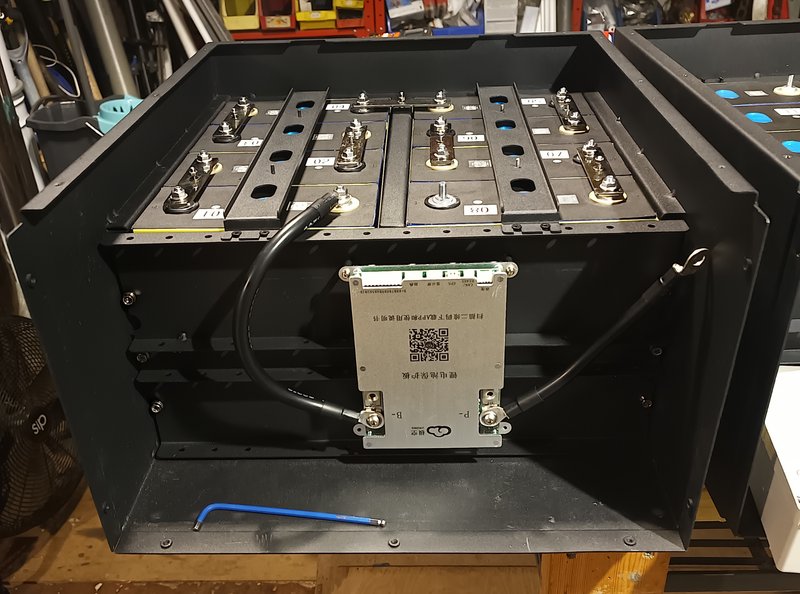
The JK Bms mounts upside down for access to the connectors
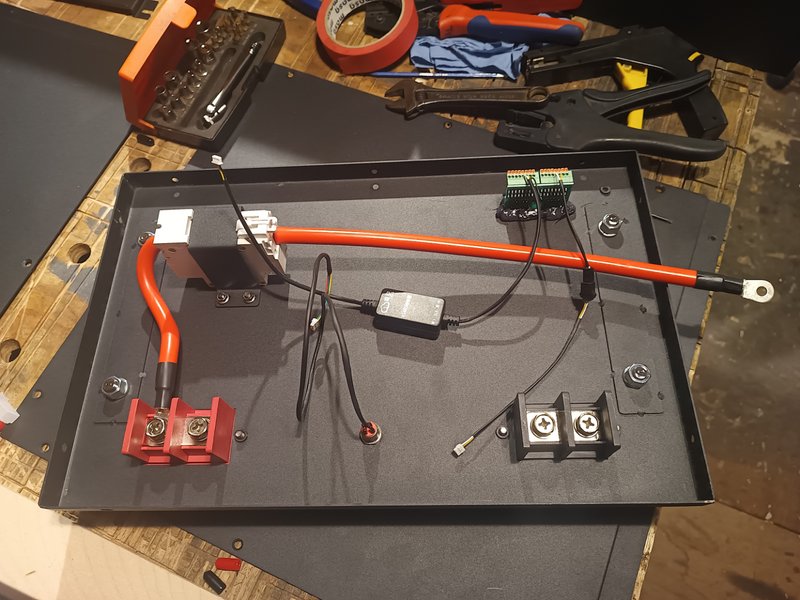
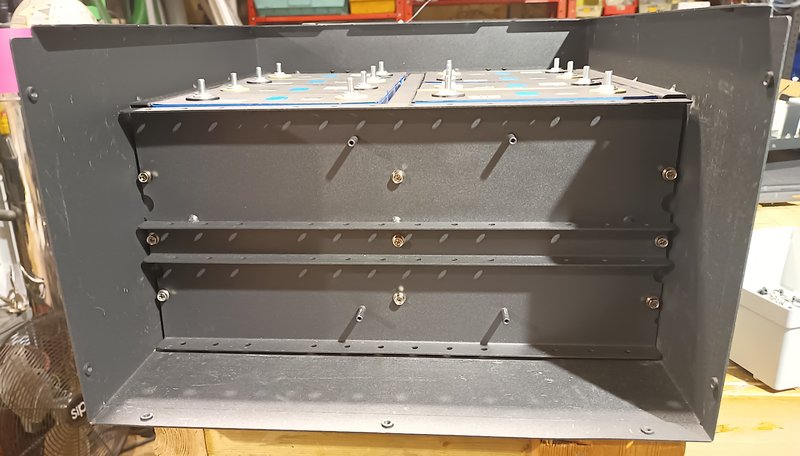
The back of the front panel
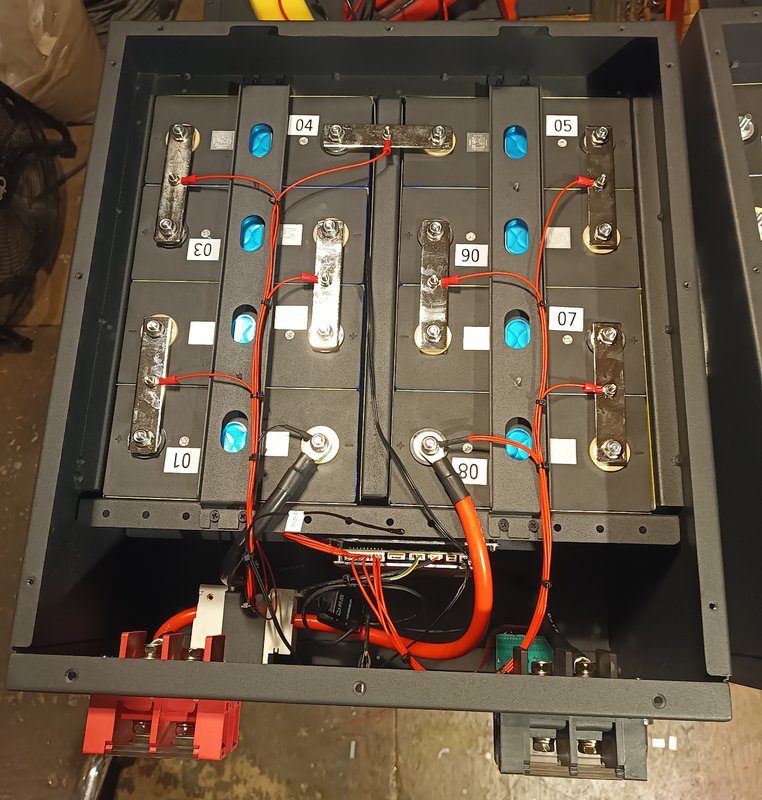
Busbars on, and all torqued to 4Nm. With a nifty digital 2-30nm torque wrench adaptor.
Balance wires all mounted and cut to length, tested then double checked before plugging in.
Not really a compression plate, but it will keep some pressure on the cells and stop them moving or bulging much it I ever over charged them.
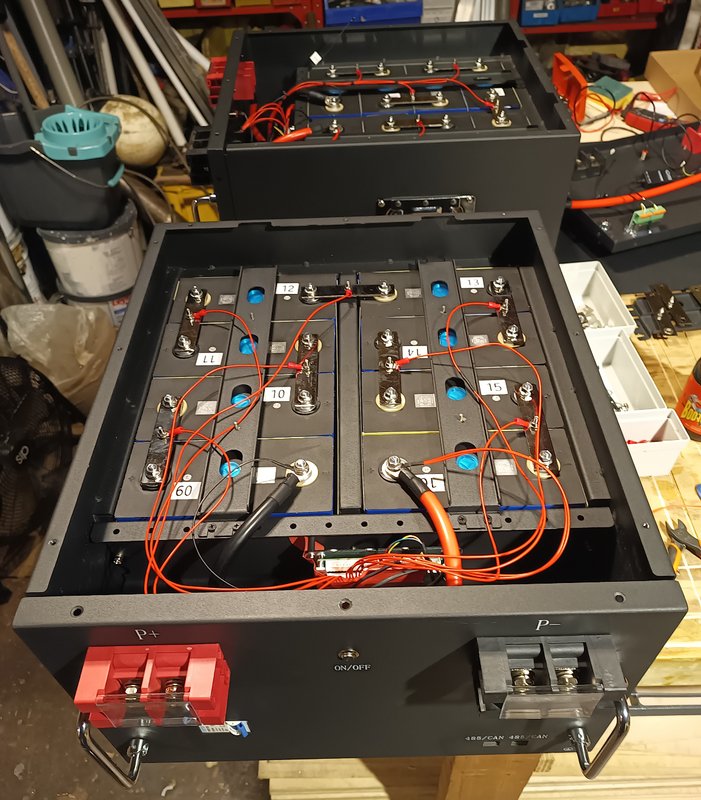
Coming together, one done next two to do.
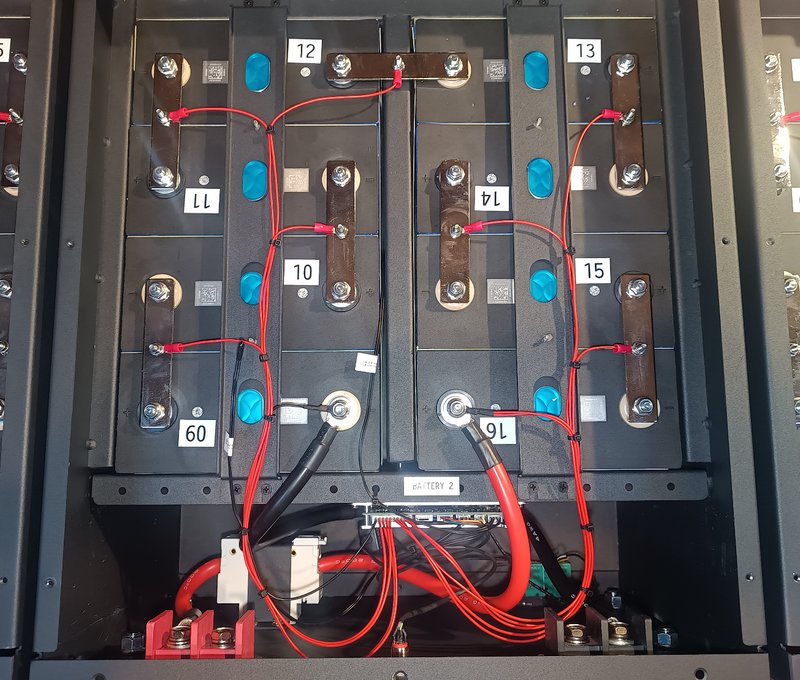
Bit of spaghetti, and I did ask Amy if she had any other terminal posts they could supply, but she couldn't at the time
Having said that I was happy they are dual M8 and fit 70mm2 (2/0 AWG) cable lugs
Three almost done
close up
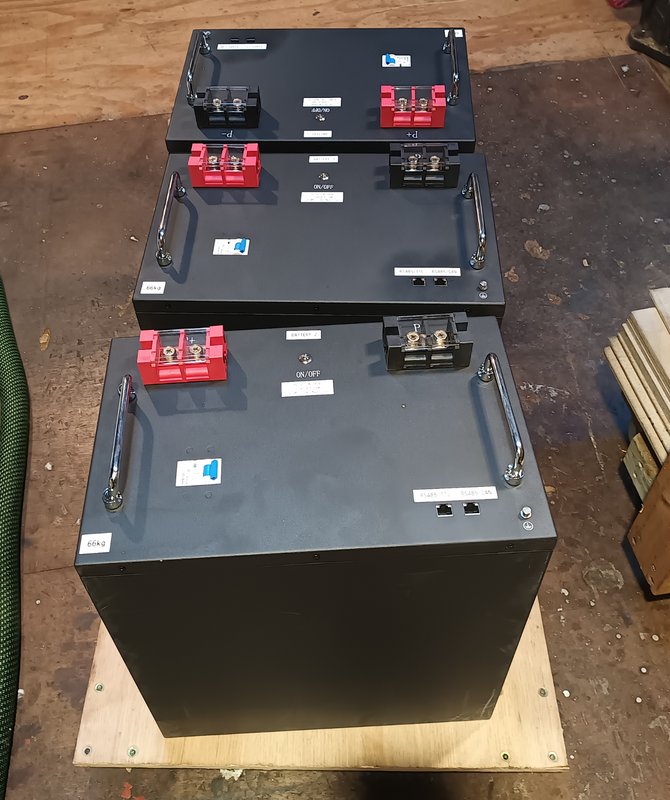
I didn't want the JK screens, as I've connected them all up to my Victron Cerbo for monitoring, and they'll be locked away anyway.
I weighed the finished boxes, 66kg each! Still better than 16S though. Three on the dolly board to get them out the workshop, then my partner helped me get them up the stairs, and into the main battery chest.. This is the house bank on our barge. My arms ached after that moving! I could have craned them out, but that would have been easy.


.jpg")


 and finally said screw it. I have Xilin coming in now.
