doksinc
New Member
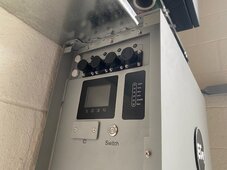
Not sure if this will help anyone, but here is my experience with the install. I personally had issues with the modularity of the system components installation procedures. My thoughts were: "what if I need to exchange the Powerpro battery....then I have to disassemble the entire install?"
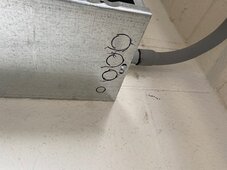
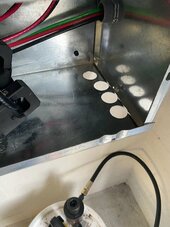
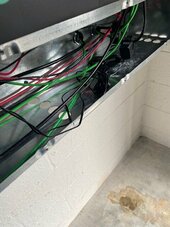
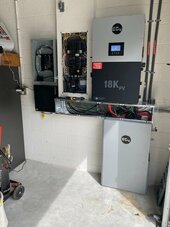
So this is what I came up with if it helps anyone. I used a 8x8x48 raceway trough (might want to check as a 10x10 would of probably installed better, your 2" knockouts will be close to edge on 8x8), I set this at 35 1/4" height. Just enough to slide the powerpro battery under after taking a couple screws off top. Marked the openings for the battery cables, moved battery out and used 3/4" knockouts for cables. Tried installing some 3/4" grommets, they will not allow the PowerPro battery connectors to slide through, removed. The battery connectors ride about 3/8" above the raceway, so all good.
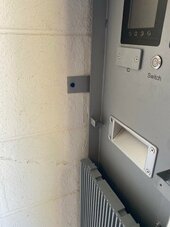
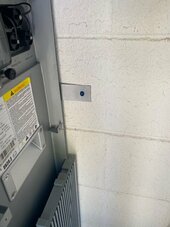
For tip over/fastening concerns, I cut up the X brace that came with the order. Left the mounting bracket on the back of the battery and edited the brace with a cut-off wheel. There's a nice slot in top of mount bracket to slide through and secure to your wall.
Hope this helps everyone with ideas. Figure now, If I ever need to pull a component out...it's much easier now.
Critical load sub-panel now installed, moving circuits over little by little. Second PowerPro shipped out today!
Thank you to everyone here for all of the help!
UPDATE: If you choose to go this route....use a 1" knockout instead of 3/4". Much easier to install grommets and the amphenol connectors will pass through with ease. Rookie error for me as I had to remove to install my second battery with the ordered parallel cables from Signature.....
Not a fun day, should of just made the 1" knockouts instead of trying to make the install "pretty". You only need to do this on the battery cables, the ground and com ports can be 3/4".


Last edited:


